
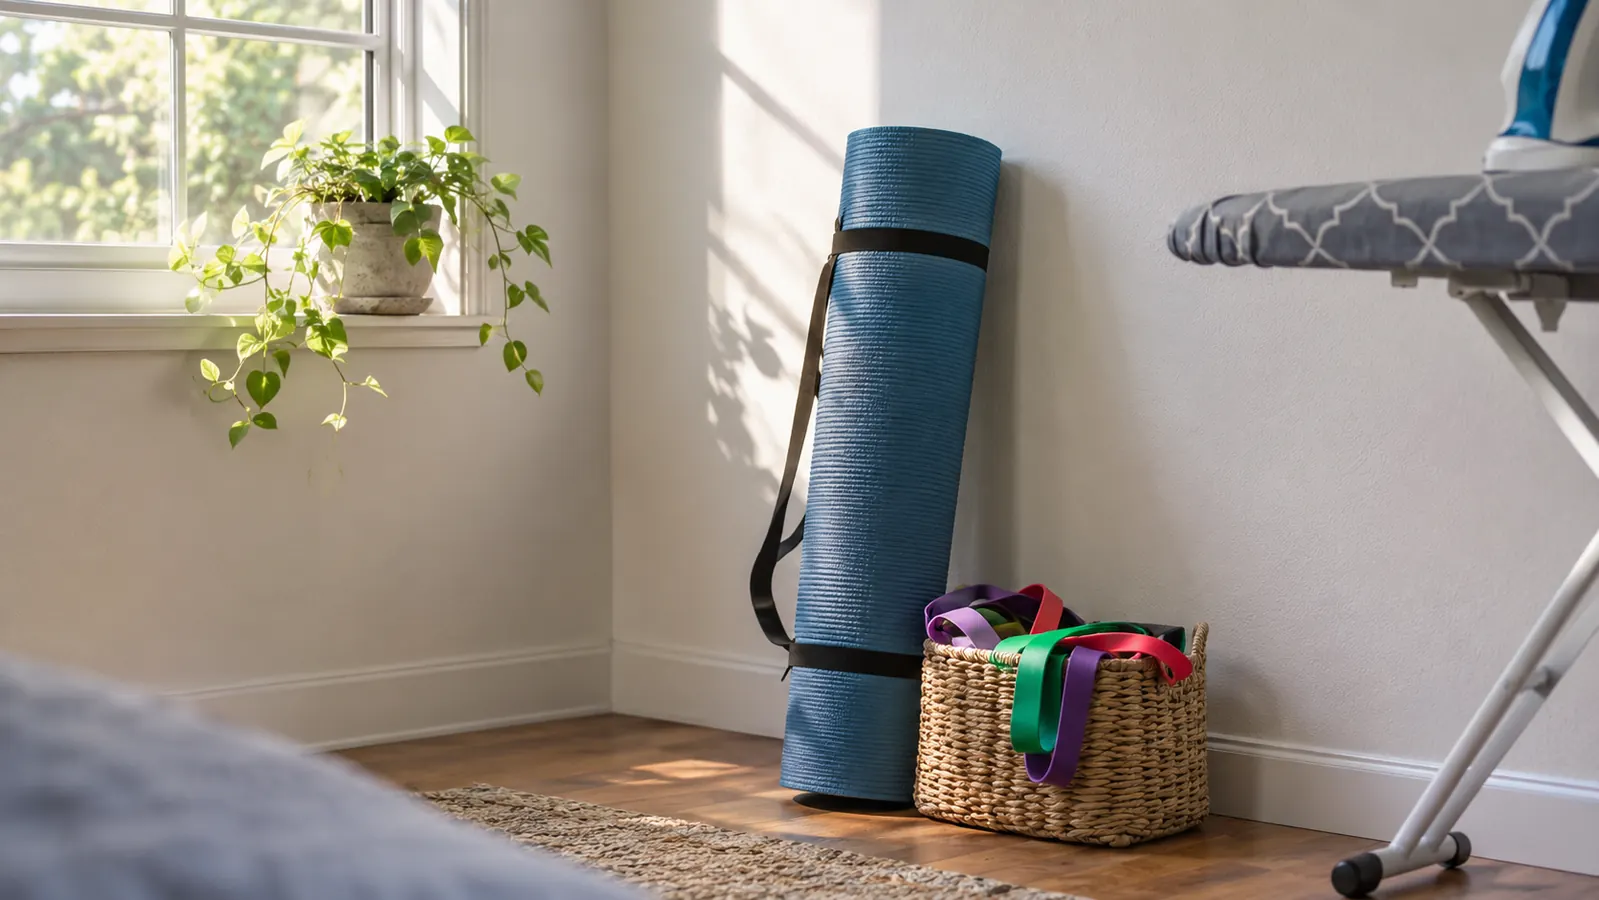
The spare room in our house in Concord is supposed to be a home gym. In practice it holds a set of dumbbells, a basket of resistance bands, an ironing board nobody puts away, and whatever Neil is currently pretending he did not order online. For about two years it also held a standing intention to do Pilates at home. I had a thin travel mat that slid across the hardwood every time I shifted my weight, and every kneeling or seated sequence ended with my knees and my tailbone filing complaints. So I stopped. Not because I lacked motivation or time. Because the floor hurt, and I had quietly decided that was that.
Nine months ago I bought the Gaiam Thick Yoga Mat, on the recommendation of a woman in my Saturday Pilates class who had used hers for years and had no plans to replace it. It is 10mm of NBR foam, 72 inches long and 24 inches wide, and it comes with an adjustable carrying strap. What I wanted from it was never really the yoga. I wanted cushioning, something between my knees and a hardwood floor for the fifteen or twenty minutes I could realistically carve out three or four times a week. That was the whole brief. What follows is how I turned that corner of the spare room into somewhere I will actually lie down, in the order I would do it again, including the parts I got wrong.
Start with the thing that made you quit
If your knees or your tailbone are the reason the mat stays rolled up in the corner, fix that first. The Gaiam Thick Yoga Mat is 10mm of high-density NBR foam, 72 by 24 inches, with an adjustable strap for class and a corner for the spare room.
Amazon Check Today's Price on Amazon →The Setup, Step by Step
Step 1: Choose the corner by how you lie down, not by how it looks
Most people pick the corner that looks best empty. I did, and it was wrong. Choose the spot by the shape of the movements you will actually do, not by which wall has the prettier light or the tidier skirting board. I need to lie flat with my arms overhead, which means the full 72 inches of mat plus another couple of feet past my fingertips, and I need a wall within reach for seated twists and for the balance work where I want something to touch. That is the entire brief for a Pilates corner, and it rules out more of the room than you would think.
In our spare room it ruled out the obvious place under the window. It looks lovely and it is about six inches too short once I stretch out. The corner that works is the one behind the door, which has a blank stretch of wall on one side and nothing breakable on the other. Unroll the mat on the floor and lie on it before you commit to anything. A tape measure lies to you. Your own heels and fingertips do not.
One more test before you settle: can you get up from the floor there without pulling on a piece of furniture that will move? On a hard floor with a thick mat under me, getting up is fine. On a hard floor without it, I was using the dumbbell rack as a handrail, which is a bad idea and also how I knocked a five-pound weight onto my foot. That alone moved the mat for me.
Step 2: Fix the floor before you fix the mat
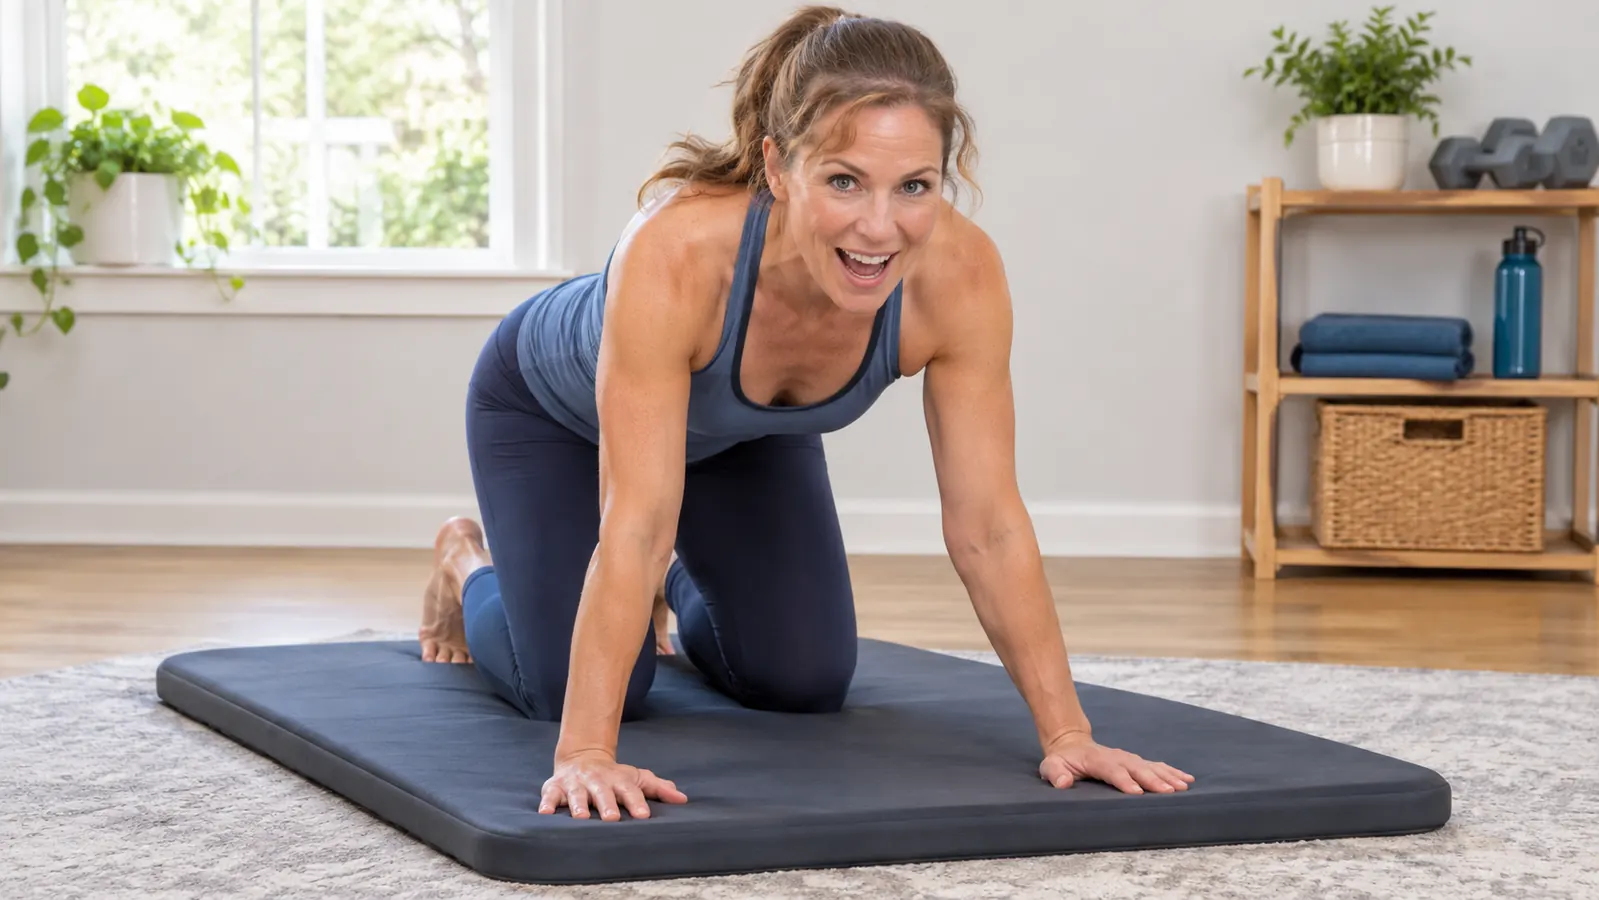
My old travel mat was the actual problem, and I did not work that out for a long time. It was thin enough that my knees took the full hardwood, and slick enough that it crept across the room during bridges. The Gaiam mat is a much heavier piece of foam, so it sits down and stays put far better. Even so, I lay it over a low-pile rug in the spare room rather than straight onto the waxed floor. The rug is not there for comfort. It is there so that sideways movements, side steps and clamshells, do not turn into a chase.
Then clear the floor properly. Not tidied. Cleared. Anything within arm's reach of the mat is something you will pick up instead of finishing a set, and anything within a foot of the edges is something you will kick. The bands went into a basket. The dumbbells went against the far wall. The ironing board went into the hall, where it can be somebody else's problem.
If your only option is a hard floor with no rug, that is still workable. The mat on its own grips better than a thin one and the foam takes the pressure off the knees. What no mat fixes is hands that slide once you get warm, so test a plank position before you commit to the spot. If your hands skate, a thin cotton towel under them is a two-second fix and needs nothing bought.
Step 3: Unroll it and give it two days to air out
The first thing you will notice when you open the box is the smell. That is normal for NBR foam, and the listing says it fades after 24 to 48 hours of airing out. Mine took about that. I draped it over the spare bed frame next to an open window for two days, and after that I could not smell it unless I put my face right into it.
Do not skip this by unrolling it and immediately lying face down on it for twenty minutes, which is exactly what I did on day one, and which is why I spent that evening convinced I had made a mistake. Give it the two days. Then wipe it down with a barely damp cloth before the first real session, and let it dry completely before you roll it up again. Foam that goes away damp comes back with a smell that has nothing to do with manufacturing.
One thing I got wrong: I rolled it back up on day two and stood it in the corner, which trapped the last of the smell inside the roll. If I did it again I would leave it flat and open for a third day, face up, and only roll it once it was genuinely odor free. It is a small thing that makes the first week much nicer, and it asks nothing of you but patience.
Step 4: Build a two-minute kit beside the mat
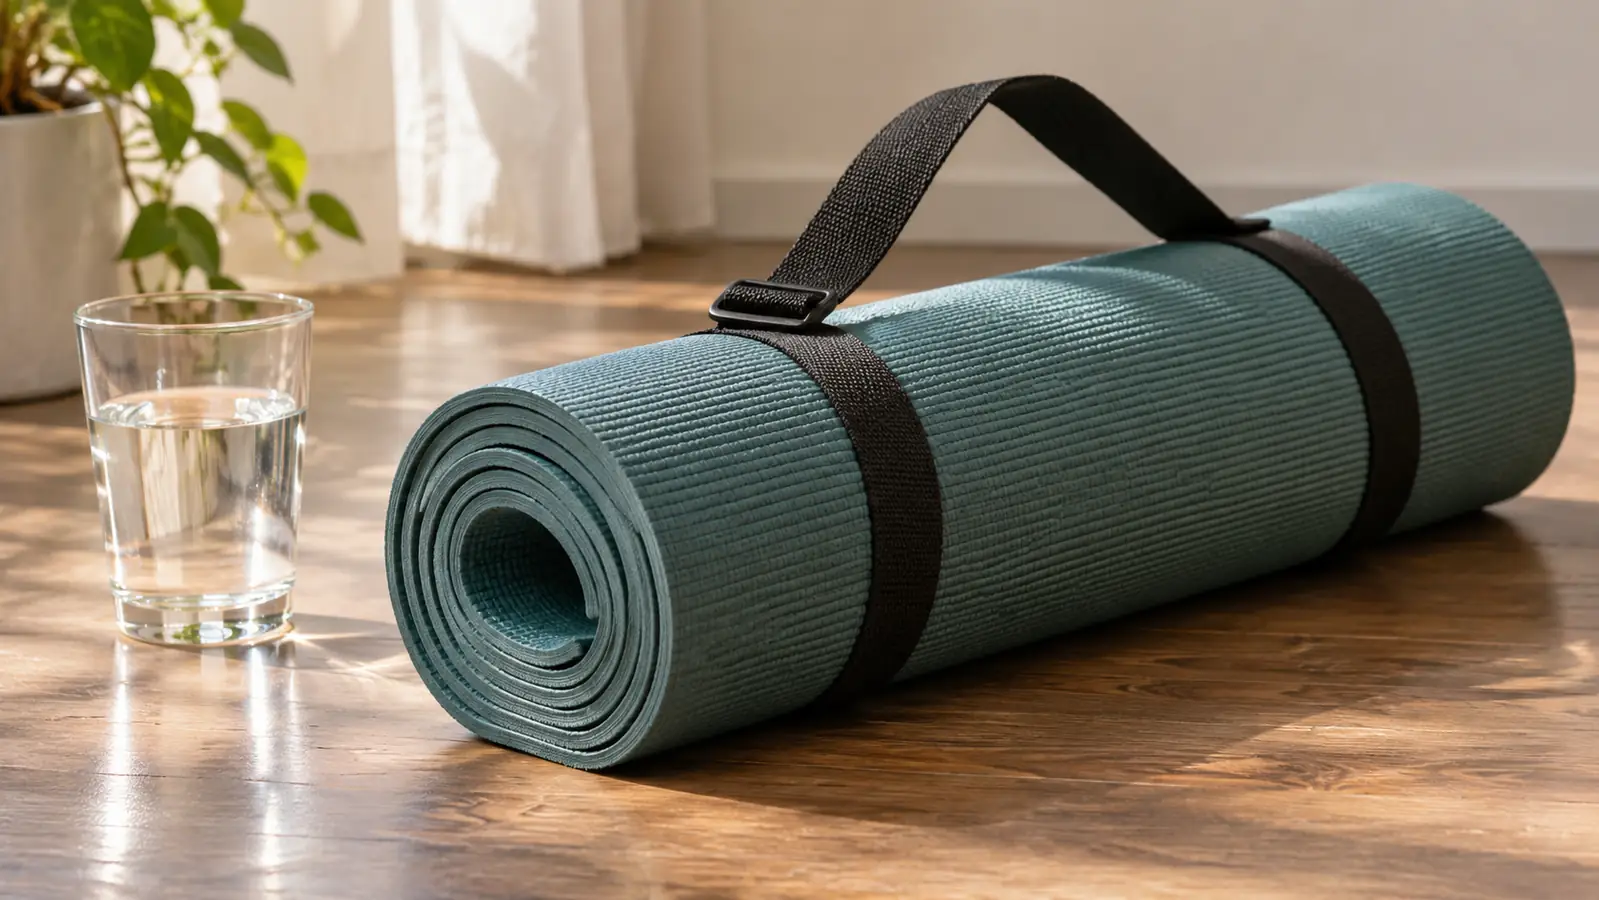
The rule I made for myself is simple. If setting up takes longer than two minutes, I will find a reason not to do it. So nothing lives in a cupboard. The mat stays rolled in the corner with its strap looped around it. The resistance bands live in their bag inside a basket at the end of the mat. The only thing I carry into the room is a glass of water.
The strap earns its place more than I expected. I use it to carry the mat to my Saturday class, and at home it is what keeps the roll tight so the corner does not become a pile. A loose roll of 10mm foam takes up more floor than you would guess. Stretched around the mat, the strap holds it to roughly the size of a rolled sleeping bag. The mat weighs 1.27 kg, light enough to carry to class and not something you would want to lug across town.
What I deliberately did not buy: a mat rack, a specialized cleaning spray, a second mat for travel. The strap does the job of the rack, a damp cloth does the job of the spray, and the mat goes into the car perfectly well on its own. Every extra object is one more thing to move before you can start, and the whole point of this corner is that starting is easy.
Step 5: Store it where you can see it, and wash it by hand
Hand wash only. That is the care instruction, and I would take it seriously. A damp cloth with a little mild soap, wiped over both sides, then left to air dry completely before it is rolled. No washing machine, no dryer, no propping it against a hot radiator. Nine months in, mine still looks like it did in month one, which for a piece of foam that gets knelt on three or four times a week is saying something.
Storage is the part that decides whether any of this works. Rolled in the corner, in sight, is the only arrangement that has survived more than a fortnight in this house. The moment mine went into a cupboard it stopped existing. If you genuinely cannot leave it out, move something else, because a mat in a cupboard is a mat you do not use.
And the honest trade. Ten millimetres of foam is wonderful under knees, hips and tailbone, and a little vague under standing balance work, where the give in the surface makes single-leg poses feel less certain than they do on a firm floor. When I get to that part, I step off the mat and use the bare floor, or fold it over for a bit more firmness. Nine months in, I still do that. I would still buy the thick one, because balance work was never the reason I stopped.
What Else Helps
A wall, a chair and a folded towel will do more for a home Pilates corner than any gadget. The wall is for the seated twist and for balance. The chair is for the days when getting down to the floor and back up again is the hardest part of the session. The folded towel goes under a hip or a shoulder when a movement asks for a small lift that the mat cannot give. None of it needs buying and none of it needs setting up, which is exactly why it gets used.
Light matters more than I expected. The corner behind the door is dim in the morning, and I found myself skipping sessions partly because I could not see what I was doing. A cheap floor lamp pointed at the wall fixed it. Nothing clever, just warm light on a pale wall instead of a shadow across the floor.
The other thing that helps is a fixed slot in the week rather than a vague intention. Mine is after the morning walk, three or four times, for fifteen to twenty minutes. Short enough that I cannot talk myself out of it. The mat already being in the corner, already unrolled from the day before, does the rest. It is not discipline. It is friction, removed.
What changed was not my discipline. It was 10mm of foam between my knees and a hardwood floor.
If you already own a thin mat and the only real problem is your knees, you can test the whole idea with a folded blanket. Put the blanket down, kneel on it, do five minutes of the seated sequence. If that is the difference between stopping and carrying on, you know what to fix. That test is what sent me looking in the first place, and it took less time than reading this.
If you take one thing from this, take the ordering. Fix the floor, then the mat, then the kit, then the habit. Most home setups fail at step one and get blamed on step four. The Gaiam mat is the piece that made step one possible for me, and nine months later it is still the only bit of gym equipment in this house that has never been put away in a cupboard.
Make the floor the easy part
10mm of high-density NBR foam, 72 by 24 inches, an adjustable strap, and a corner of the spare room. If your knees have been the reason the mat stays rolled up, start here.
Amazon Check Today's Price on Amazon →