

Most mascara problems I hear about are not really mascara problems. They are application problems. The lashes clump at the tip, the curl drops by ten in the morning, and the whole eye looks heavier than it did before makeup. I am 48, I have fine lines around my eyes, and I have combination skin that turns my T-zone oily by lunch. I have used MAYBELLINE Lash Sensational Sky High Washable Mascara for about seven months, most weekdays and every Saturday, and the difference between a lifted look and a droopy one came down to five small habits. None of them require a new product. All of them require slowing down for about ninety seconds.
The MAYBELLINE Sky High formula is washable, not water resistant, which matters more than the label suggests. I do not wear it to my Saturday Pilates class or on a hot walk with Pepper, because it will not survive that. I put it on after I am cooled down and my face is dry. I use two coats. If I add a third, it clumps, and I have learned to stop. A tube also starts to dry out after about three months, so I replace it rather than fight with a wand that is dragging instead of combing. I also do not apply it in a steamy bathroom right after a shower. I wait until the mirror clears. That is the honest version. Here is the routine that gives me the lift, step by step.
If your lashes fall flat by lunch, fix the application before you buy another tube
The MAYBELLINE Lash Sensational Sky High Washable Mascara is the tube I keep on the narrow bathroom shelf. The steps below are what made it work for me. See the current listing on Amazon if you want to check the formula and the wand for yourself.
Amazon See the current listing on Amazon →Step 1: Start with clean, dry lashes and a blotted eyelid
I wash my face in the morning, dry it, and wait a minute. Mascara on damp lashes or a damp eyelid is a mess. The formula is washable and the tube is not water resistant, so any leftover cream or sweat on the lid gives the wand something to slide on. I blot my eyelids with a tissue, then dust a little setting powder over the lid if I am going to be out for hours. I do not put moisturizer on my eyelids. That is a small thing that keeps the curl from collapsing before I leave the bathroom.
I also make sure the lashes themselves are dry. If I have just showered, I give them a few minutes. Wet lashes stick together, and a straight wand will drag through a clump rather than comb it out. If the lashes are wet, the wand clumps them together and the first coat looks patchy. The whole prep takes less time than finding the tube in the drawer. The point is simple. Dry lashes take a coat evenly, and an even first coat is what makes the second coat look like lift instead of weight.
One more prep note. I keep the tube upright on the shelf, not lying on its side in a makeup bag. The formula is buildable, and a tube that has been shaken and stored upright is easier to control. I do not pump the wand in and out. That pushes air into the tube and dries the formula faster. I twist it out, wipe the excess on the rim, and go.
Step 2: Curl before mascara, not after
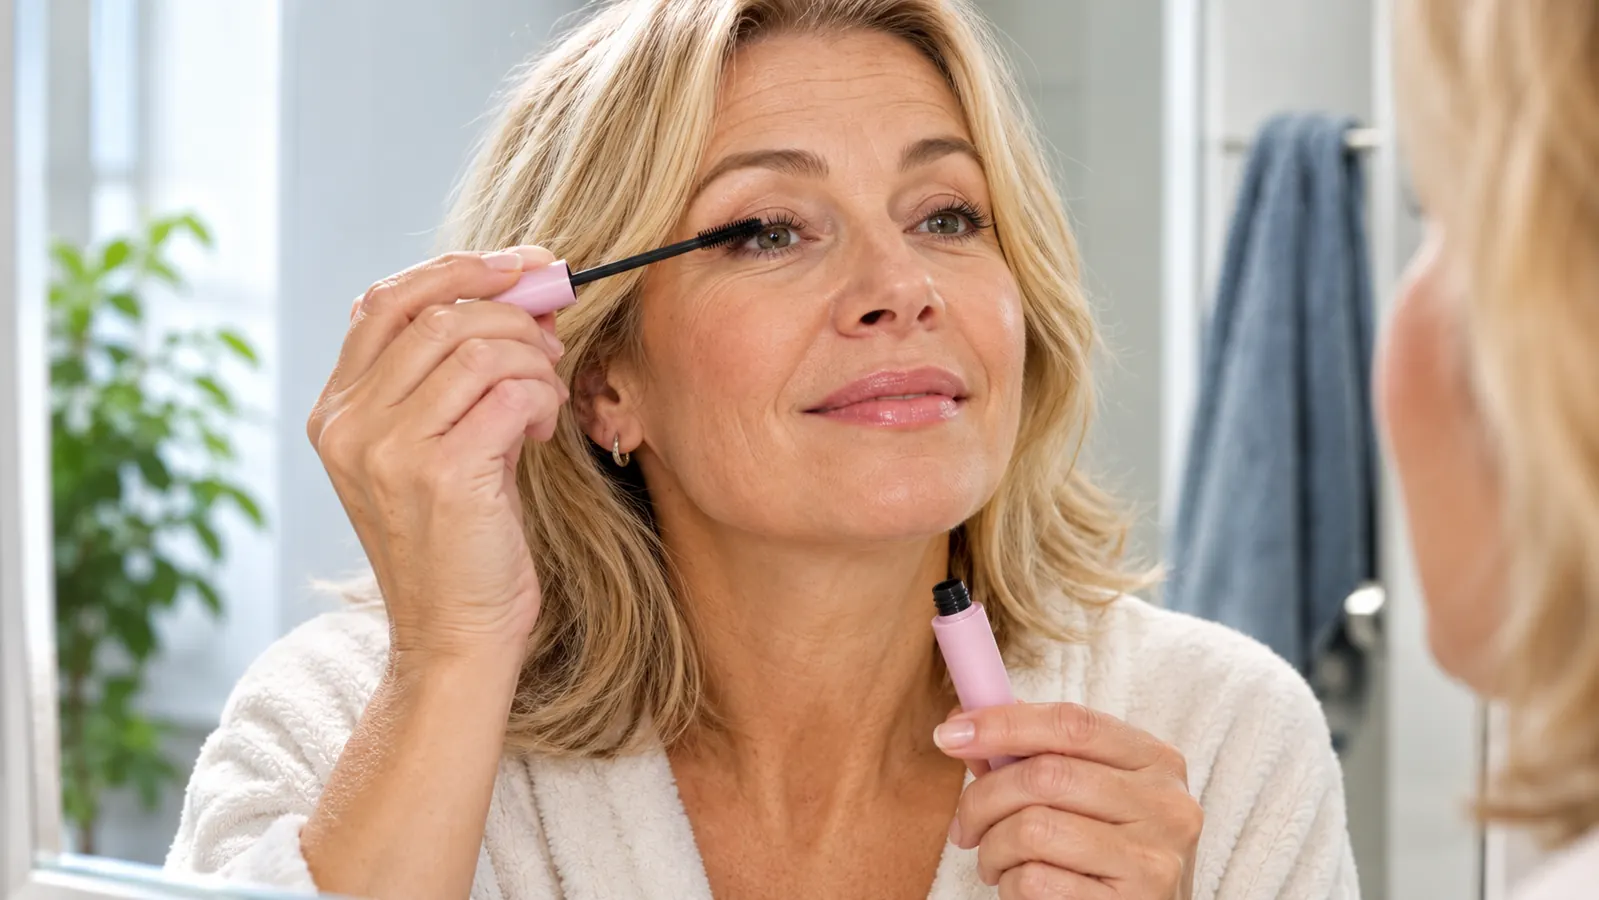
I curl my lashes before mascara. Always. A curler after mascara is how lashes get bent at a hard angle or pulled out. I warm the curler in my hand for a few seconds, then clamp at the base, hold for a count of three, walk it up the lash, and press again. I do the outer corner a little more because that is where my lashes point down the most. This is not a product step. It is the step that gives the mascara something to hold.
I have fine lashes, so I do not clamp hard at the very tip. That creates a sharp bend that looks unnatural and makes the mascara gather there. A soft lift at the base and a gentle press in the middle is enough. The straight wand on the MAYBELLINE Sky High is good for this because it can get close to the root without a curve fighting the lash line. I know some people prefer a curved wand. I do not. The straight one lets me press and wiggle where I need it.
If your lashes are stubborn, a second gentle clamp after the first coat can help, but only if the mascara is still tacky. If it has set, leave it alone. I learned that the hard way, and I lost two lashes to a curler that grabbed a dry coat. Now I curl once, before anything else, and I do not touch the curler again.
Step 3: Wipe the wand and build the first coat from the root
The biggest mistake I made for years was using too much mascara on the wand. I would pull it out with a big blob on the tip, put it on the lash, and wonder why the lashes stuck together. Now I wipe the wand on the inside rim of the tube, not on a tissue, and I start at the root. The root is where the lift comes from. If the base of the lash is coated and the tip is light, the lash looks longer and more open. If the tip is heavy, the lash droops.
I hold the wand parallel to the lash line and press it into the roots, then wiggle side to side a little. That gets the formula into the base without dumping it on the tip. Then I sweep up and out. I do the same on the lower lashes only if I am going somewhere nice. Most days I skip the lower lashes because they smudge on my cheek by the afternoon, and this formula is not water resistant, so it does not need a fight. I keep the lower lashes light because the skin under my eyes is dry and any smudge looks like a shadow.
The formula has bamboo extract and fibers. I do not need to know the chemistry to see the effect. The first coat separates and deepens, and it gives me a base that looks like my own lashes but better. If I stop here, I have a clean daytime eye. If I want the lifted look, I wait about thirty seconds and go back for the second coat. That pause matters. The first coat needs to set just enough that the second coat sits on top instead of moving the first one around.
Step 4: Place the second coat at the outer corner and the tip
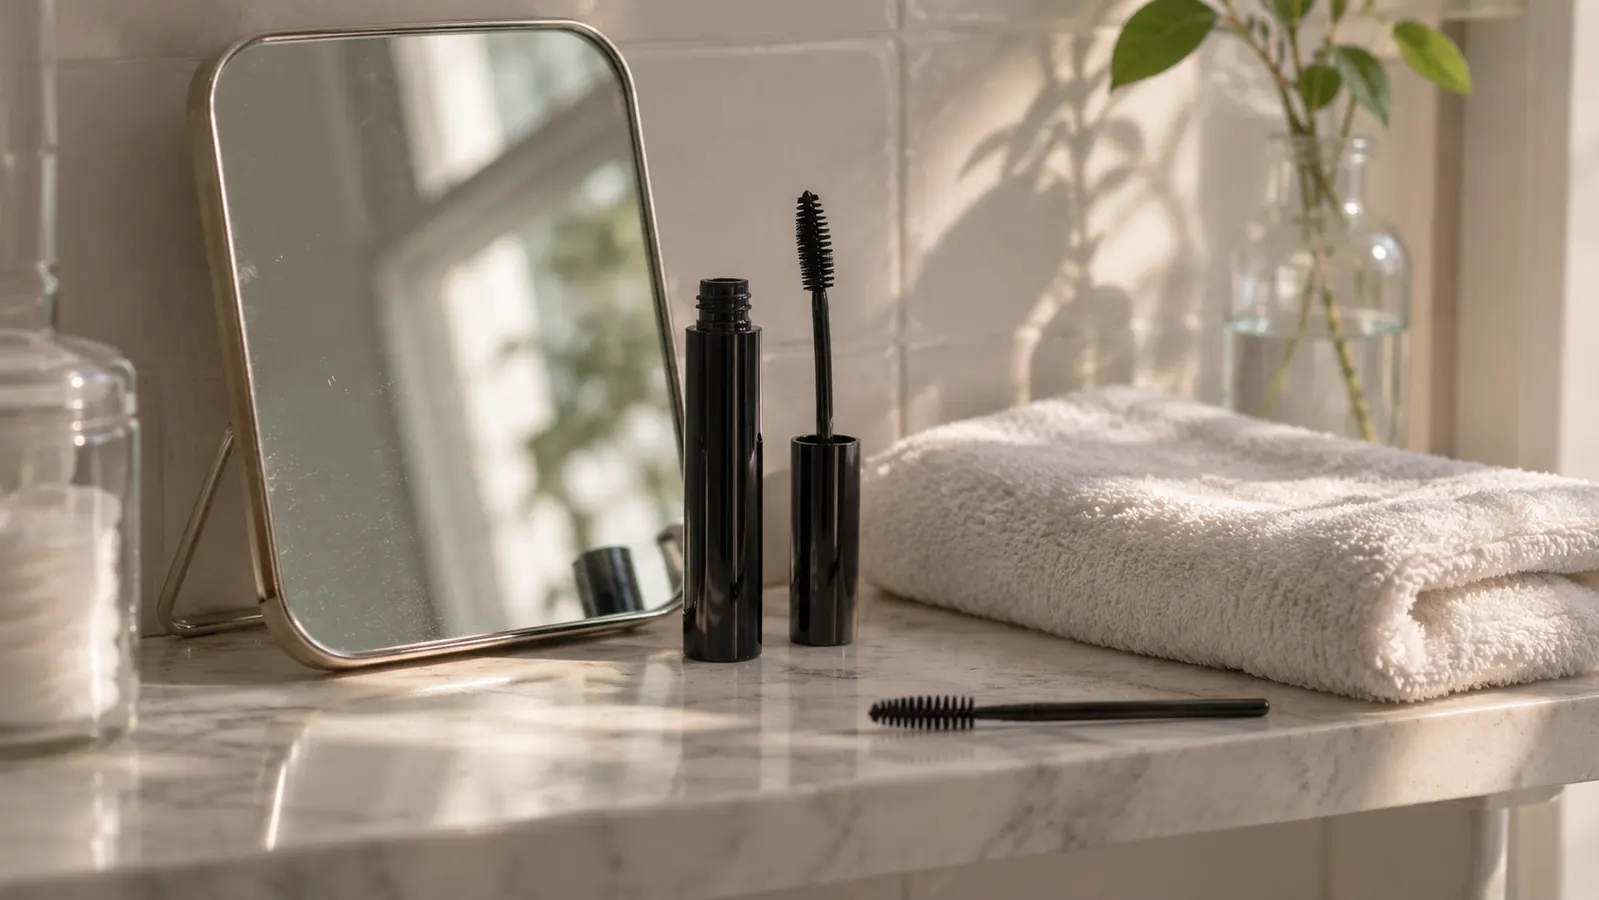
The second coat is where the lift happens for me. I take the wand and focus on the outer third of the eye first. I place the wand at the root and pull up and slightly toward my temple. That angle is what opens the eye. Then I do the middle, then the inner corner with whatever is left on the wand. I do not reload between eyes. I use the same amount for the second coat as the first, which is not much. A little formula on a straight wand goes further than a lot.
For the tip, I press the wand against the top of the lash and hold for a second, then roll it up. That puts a little product at the very end and makes the lash look longer without a heavy blob. I do not zigzag all the way up on the second coat. Zigzag at the root is fine, but at the tip it makes a mess. Up and out, then a small roll at the end. That is the whole motion.
This is also where I decide to stop. Two coats is my limit with this tube. A third coat makes the lashes stick together at the tips, and once they clump, no comb fixes it completely. The formula is buildable, but buildable does not mean unlimited. For me, two coats on the MAYBELLINE Sky High is the line between lifted and heavy. If I want more definition, I use a lash comb, not more mascara. I would rather have two clean coats than three heavy ones that make my eyes look tired.
Step 5: Comb, separate, and leave the tips alone
While the second coat is still a little tacky, I run a clean spoolie through the lashes. I start at the base and go up, and I do the outer corner last. This separates any fibers that have stuck together and fans the lashes out. I do not use a metal lash comb. It is too sharp for my eyes and it takes off too much product. A clean spoolie is enough. I wipe it on a tissue after each use and wash it with soap once a week. I also wipe the spoolie on a clean tissue, not on the same towel I use on my face.
Then I leave them alone. I do not curl again. I do not add another coat because I think one lash looks bare. I do not touch the tips with my finger. The formula needs a moment to set, and every touch before that costs me the lift. I finish the rest of my face, get dressed, and check the mirror by the front door before I leave. If a lash is out of place, I use the spoolie, not the wand.
At the end of the day, I take it off with my normal evening face wash. I do not need a separate eye makeup remover for this formula because it is washable. I close my eyes, massage the face wash over the lashes gently, and rinse. I do not rub. The skin around my eyes is thin and easily irritated, and rubbing is what causes the redness I used to get. If I have worn two coats and a little setting powder, I might use a second pass of face wash, but I do not scrub.
What Else Helps
What else helps is mostly boring. A lash curler that fits your eye shape, a clean spoolie, and a mirror with decent light. I use a small magnifying mirror on the bathroom shelf, and I do my mascara before I do my hair. If I do it after, I am rushing and I press too hard. I also keep a tissue handy for the wand rim and for blotting my eyelid if the bathroom gets steamy. I open the window a crack if the mirror is fogging, because steam makes the mascara set slower and the lashes stick. None of this is complicated. It is just a routine that makes the mascara behave.
The other thing that helps is knowing when to replace the tube. This formula starts to dry out after about three months for me. When it does, the wand drags, the lashes clump, and I blame my technique. I have learned to write the date on the tube with a marker. When it is three months old, I replace it. That is not a glamorous tip, but it is the one that keeps the application consistent. A fresh tube and two coats beat an old tube and four coats every time.
Two coats on the straight wand gave me the lift I wanted. A third coat gave me clumps, and no comb fixed them.
The two-coat routine I keep on the shelf
If your lashes fall flat, start with dry lashes, curl first, wipe the wand, and stop at two coats. The MAYBELLINE Lash Sensational Sky High Washable Mascara is the tube I use for that routine. It is washable and not water resistant, so I save it for after the sweaty stuff, not during. It is not a dramatic makeup look. It is the version that survives a normal day.
Amazon See the current listing on Amazon →